Flutter Guide
This guide explains how to create a new Flutter app on Android and use the Abrevva Flutter plugin to scan for EVVA components.
Prerequisites
Section titled “Prerequisites”- Install or update Android Studio to its latest version.
- Install or update Flutter to its latest version.
- Set up a bluetooth capable physical device to run your app.
Create example app
Section titled “Create example app”Use the flutter cli to setup a new Flutter app & run the App.
$ flutter create my_app --platforms=android && cd my_app$ flutter runIn case you get gradle build errors you might need to exclude the META-INF files in the app’s build gradle file at the android level.
Show code
packagingOptions { ... resources.excludes.add("META-INF/*")}You should now see the example app.
Add dependency
Section titled “Add dependency”Execute the following commands to add the Abrevva Flutter plugin to the pubspec.yaml.
$ flutter pub add abrevvaSet permissions
Section titled “Set permissions”Open the AndroidManifest.xml and add the required permissions and features at the manifest level.
<uses-permission android:maxSdkVersion="30" android:name="android.permission.ACCESS_COARSE_LOCATION" /><uses-permission android:maxSdkVersion="30" android:name="android.permission.ACCESS_FINE_LOCATION" /><uses-permission android:maxSdkVersion="30" android:name="android.permission.BLUETOOTH" /><uses-permission android:maxSdkVersion="30" android:name="android.permission.BLUETOOTH_ADMIN" /><uses-permission android:name="android.permission.BLUETOOTH_SCAN" android:usesPermissionFlags="neverForLocation" tools:targetApi="s" /><uses-feature android:name="android.hardware.bluetooth_le" android:required="true" />Create scan page
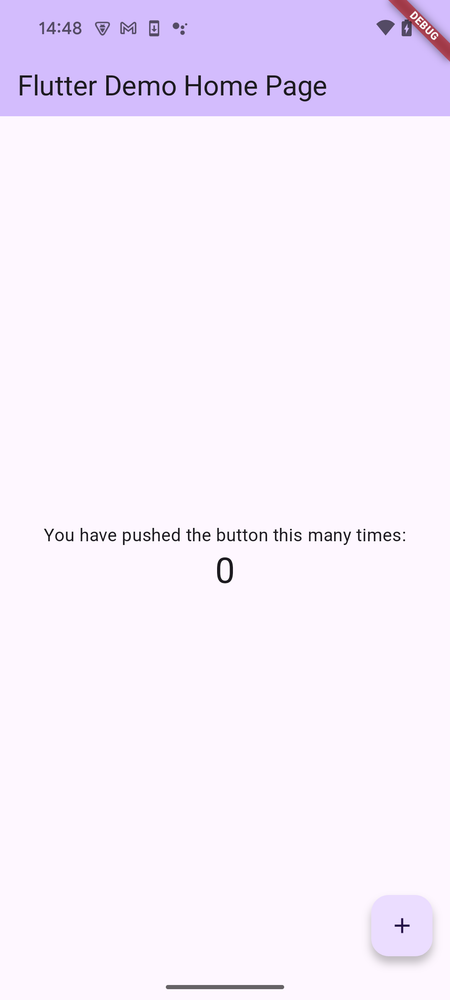
Section titled “Create scan page”Open lib/main.dart to view the source of the created Demo App.
To repurpose the HomePage, just replace the _MyHomePageState Class with the implementation below.
Also include the two imports below.
Show code
import 'package:abrevva/abrevva.dart';import 'package:abrevva/abrevva_param_classes.dart';
...
class _MyHomePageState extends State<MyHomePage> { final _abrevvaBle = AbrevvaBle(); List<BleDevice> scanResultList = [];
Future<void> _scanForDevices() async { scanResultList.clear(); return await _abrevvaBle.startScan( onScanResult: (device) { setState(() { scanResultList.add(device); }); }, ); }
@override void initState() { super.initState(); _abrevvaBle.initialize(false); }
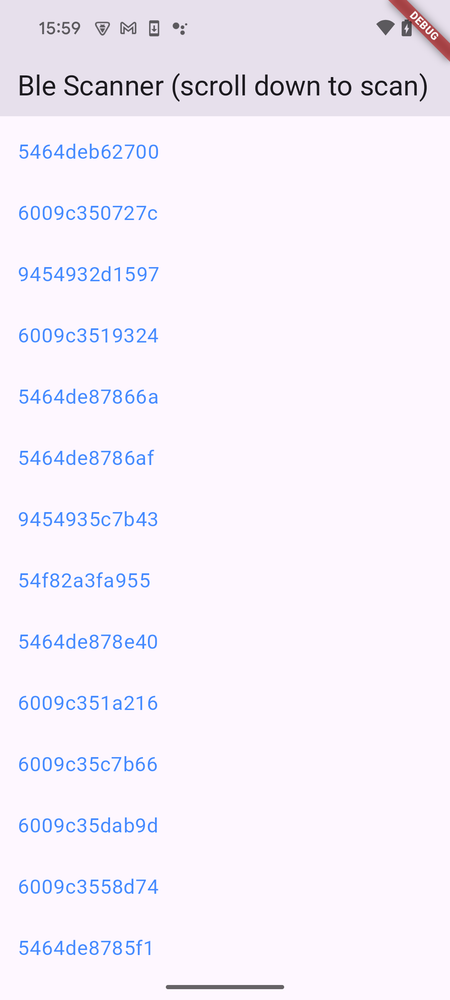
@override Widget build(BuildContext context) { return Scaffold( appBar: AppBar(title: const Text('Ble Scanner (scroll down to scan)')), body: Row( children: [ RefreshIndicator( onRefresh: _scanForDevices, child: ListView.builder( itemCount: scanResultList.length, itemBuilder: (context, index) { final result = scanResultList[index]; return ListTile( title: Text( "${result.advertisementData?.manufacturerData?.identifier}", style: const TextStyle(color: Colors.blueAccent), ), ); }, ), ), ], ), ); }}Final result
Section titled “Final result”Scroll down to trigger the RefreshIndicator and you should see bluetooth results flying in.
You can find the full example code on Github.